Hey there! As a supplier of Eaton Vickers series products, I often get asked about how to install Eaton Vickers series check valves. So, I thought I'd put together this blog post to share some tips and steps to make the installation process as smooth as possible.
What Are Eaton Vickers Series Check Valves?
Before we dive into the installation process, let's quickly go over what Eaton Vickers series check valves are. These check valves are crucial components in hydraulic systems. They allow fluid to flow in one direction while preventing reverse flow, which helps maintain the proper functioning and safety of the hydraulic system. Whether you're working on a small hydraulic project or a large industrial application, Eaton Vickers check valves are reliable and high - quality options.
Tools You'll Need
First things first, gather the necessary tools for the installation. You'll typically need:
- A set of wrenches (both open - end and socket wrenches) to loosen and tighten the fittings. Make sure you have the right sizes for the valve and the pipes you're connecting it to.
- A torque wrench. This is important to ensure that you tighten the fittings to the correct torque specification. Over - tightening can damage the valve or the pipes, while under - tightening can lead to leaks.
- A sealant or thread tape. This helps create a tight seal between the threaded connections and prevents fluid leakage.
- A cleaning cloth or brush. You'll want to clean the connection points before installing the valve to remove any dirt, debris, or old sealant.
Pre - installation Checks
Before you start the actual installation, there are a few checks you should do:
- Inspect the valve: Carefully examine the Eaton Vickers check valve for any visible damage, such as cracks, dents, or scratches. Check the seals and gaskets to make sure they're in good condition. If you notice any issues, don't use the valve and contact your supplier (like me!) for a replacement.
- Check the pipes: Look at the pipes where you'll be installing the valve. Ensure that the inner and outer diameters are compatible with the valve's connections. Also, check for any signs of corrosion or blockages in the pipes. If there are blockages, clean them out before proceeding.
- Refer to the manual: Every Eaton Vickers check valve comes with a detailed installation manual. Read it thoroughly to understand the specific requirements and torque values for your valve model.
Step - by - Step Installation Process
Step 1: Turn Off the System
Before you start working on the installation, shut off the hydraulic system. This includes turning off the power source and relieving any pressure in the system. Safety first, folks! You don't want to deal with pressurized fluid while you're installing the valve.
Step 2: Clean the Connection Points
Use your cleaning cloth or brush to clean the ends of the pipes where you'll be attaching the check valve. Remove any dirt, rust, or old sealant. A clean surface will ensure a better seal and a more reliable installation.
Step 3: Apply Sealant or Thread Tape
If your valve has threaded connections, apply a thin layer of sealant or wrap some thread tape around the male threads. Make sure you don't get any sealant or tape inside the valve, as this could affect its performance.
Step 4: Position the Valve
Carefully place the Eaton Vickers check valve in the correct position between the pipes. Pay attention to the flow direction indicated on the valve. The arrow on the valve body shows the direction in which the fluid should flow. Make sure you install the valve so that the flow direction matches the requirements of your hydraulic system.
Step 5: Connect the Valve
Use your wrenches to connect the valve to the pipes. Start by hand - tightening the fittings to get them started. Then, use your torque wrench to tighten the fittings to the specified torque value. Refer to the installation manual for the exact torque requirements for your valve model.
Step 6: Double - Check the Installation
Once you've connected the valve, double - check all the connections. Make sure the valve is securely attached and there are no visible gaps or misalignments. Also, check that the flow direction is correct.
Step 7: Test the System
After the installation is complete, slowly turn on the hydraulic system and check for any leaks. Start with a low pressure and gradually increase it to the normal operating pressure. If you notice any leaks, turn off the system immediately and tighten the fittings further or check for any damaged seals.
Troubleshooting Common Issues
- Leaks: If you find leaks around the valve connections, first check if the fittings are tightened properly. You may need to use your torque wrench to tighten them a bit more. If the leak persists, the sealant or thread tape may not be sufficient. Remove the valve, clean the connections, and apply a new layer of sealant or thread tape.
- Valve Not Working: If the valve doesn't seem to be allowing fluid to flow in the correct direction or is preventing flow when it shouldn't, double - check the installation. Make sure the valve is installed in the correct orientation and there are no blockages inside the valve or the pipes.
Related Eaton Vickers Products
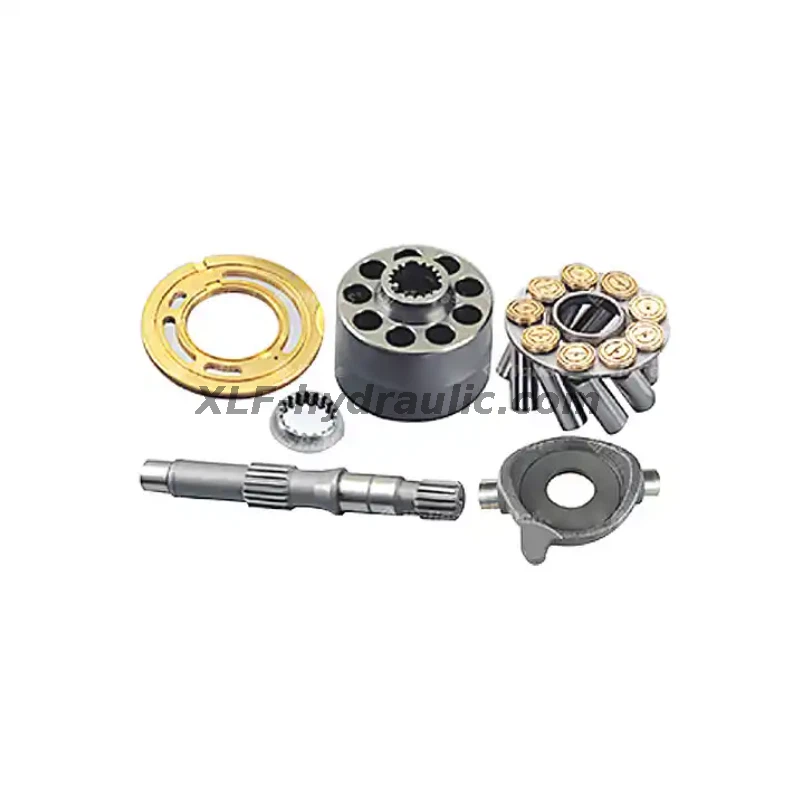
As an Eaton Vickers series supplier, I also offer a wide range of other related products. For example, if you're interested in fixed and variable displacement pump hydraulic system accessories, check out Eaton PVE Of Fixed and Variable Displacement Pump Hydraulic System Accessories Spare. And if you need hydraulic tandem gear pump spares, the Eaton Vickers Pvq Series Hydraulic Tandem Gear Pump Spares are a great option. Also, for hydraulic axial piston pump spare parts, take a look at EATON VICKERS PVB Series Hydraulic Axial Piston Pump Hydraulic Machine Spare Parts.
Conclusion
Installing Eaton Vickers series check valves isn't overly complicated if you follow the right steps and take the necessary precautions. By doing a proper pre - installation check, using the right tools, and following the correct installation process, you can ensure a successful installation and a reliable hydraulic system.
If you have any questions about the installation process, or if you're interested in purchasing Eaton Vickers series check valves or other related products, feel free to reach out. I'm here to help you with all your Eaton Vickers needs!
References
- Eaton Vickers Check Valve Installation Manual
- Hydraulic System Installation and Maintenance Guides


